Table of Content
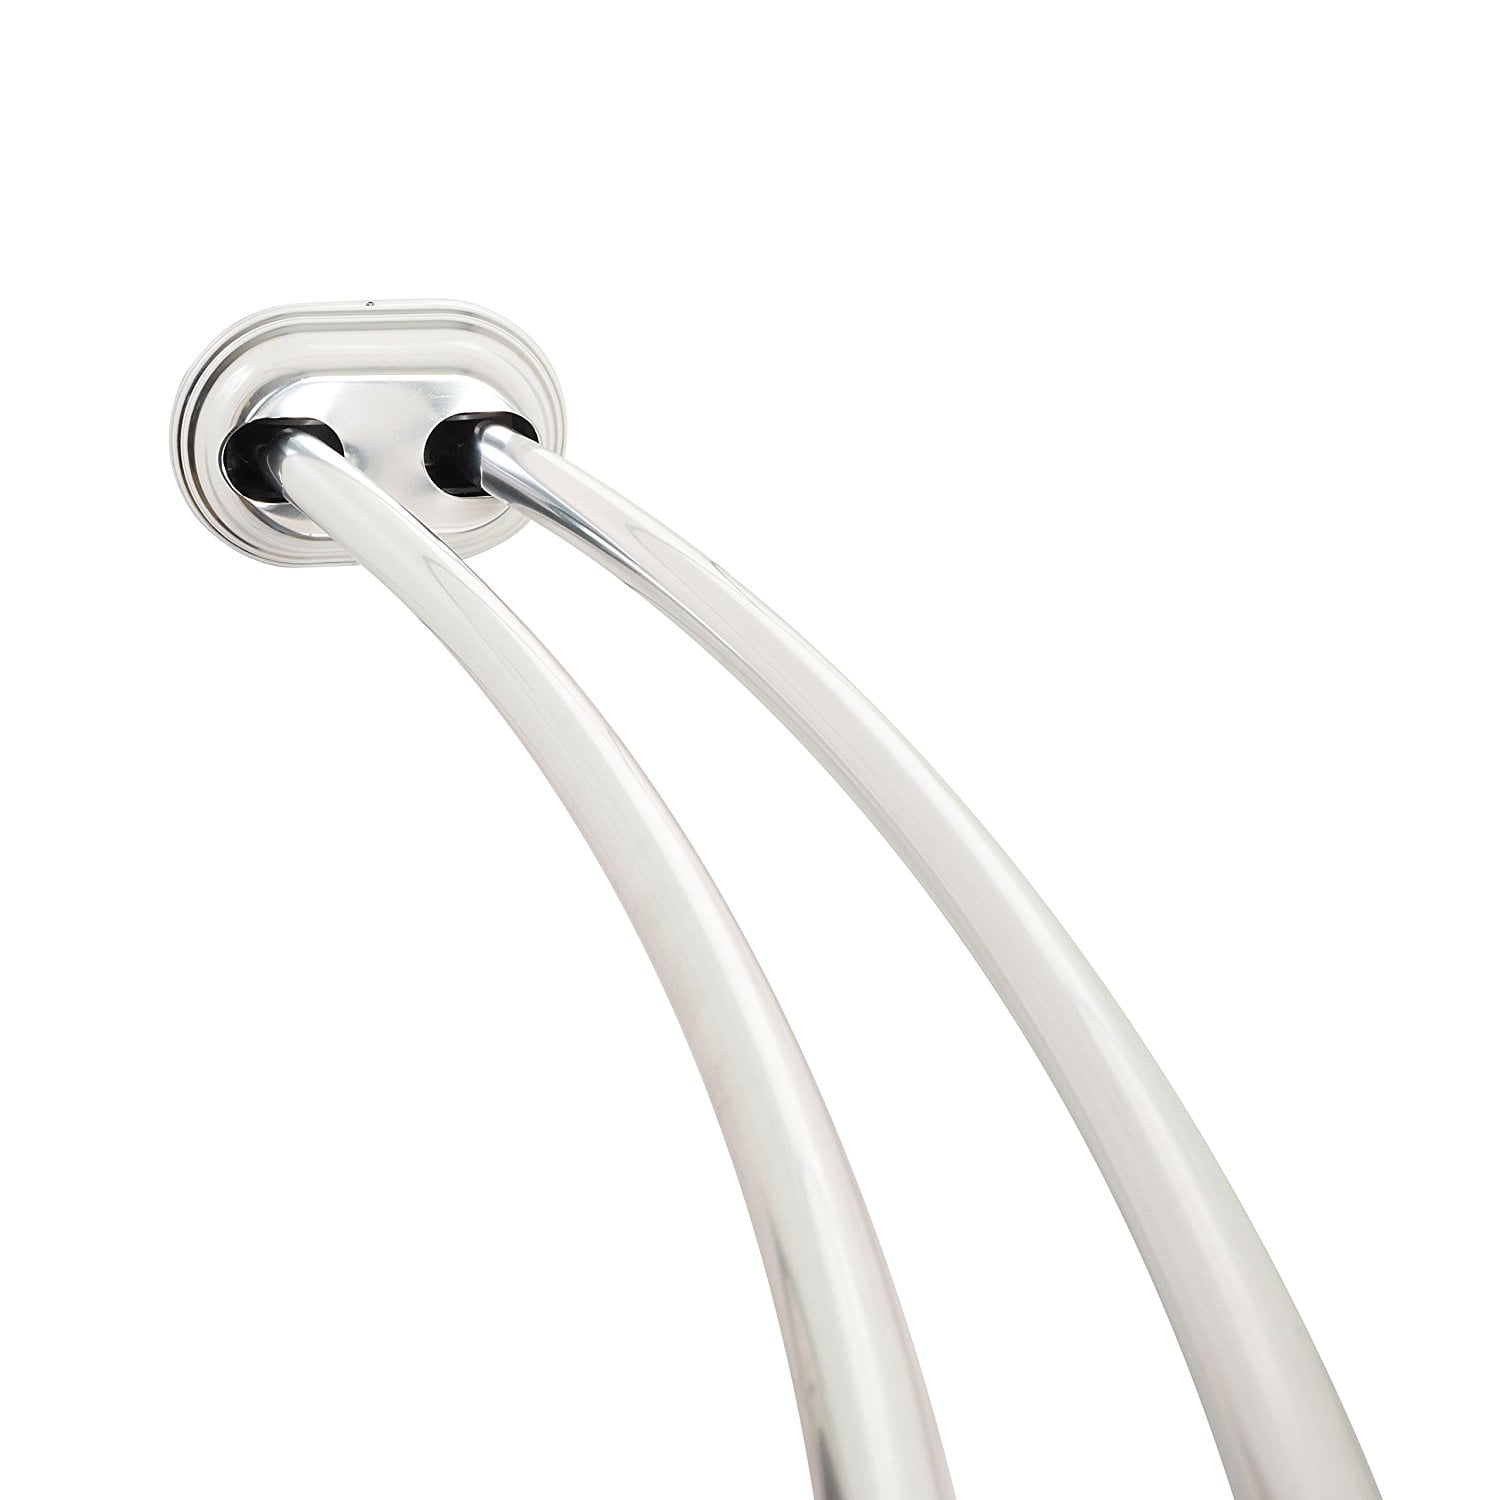
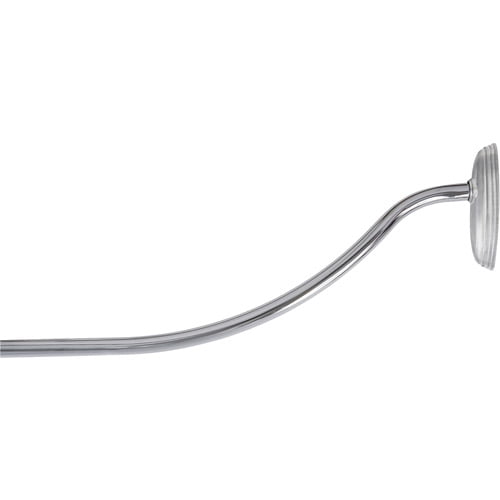
The flanges are the mounts that hold the curtain rod. In reality, this is not necessary, as the curve of the shower rod does not bow outward enough to cause problems. In fact, it's best to position the mounting brackets for the new curved shower rod at exactly the same position used for the old rod.
Allow the patch to dry, then paint the repaired area to match the wall. It is also a good idea to check the rod with a level. Place the level on top of the shower rod to ensure that the flanges will be even. Decorative and functional, BHP offers a wide variety of shower rod styles in many beautiful and contemporary finishes. When measuring the length of the shower rod, measure from end to end, not along the curved length.
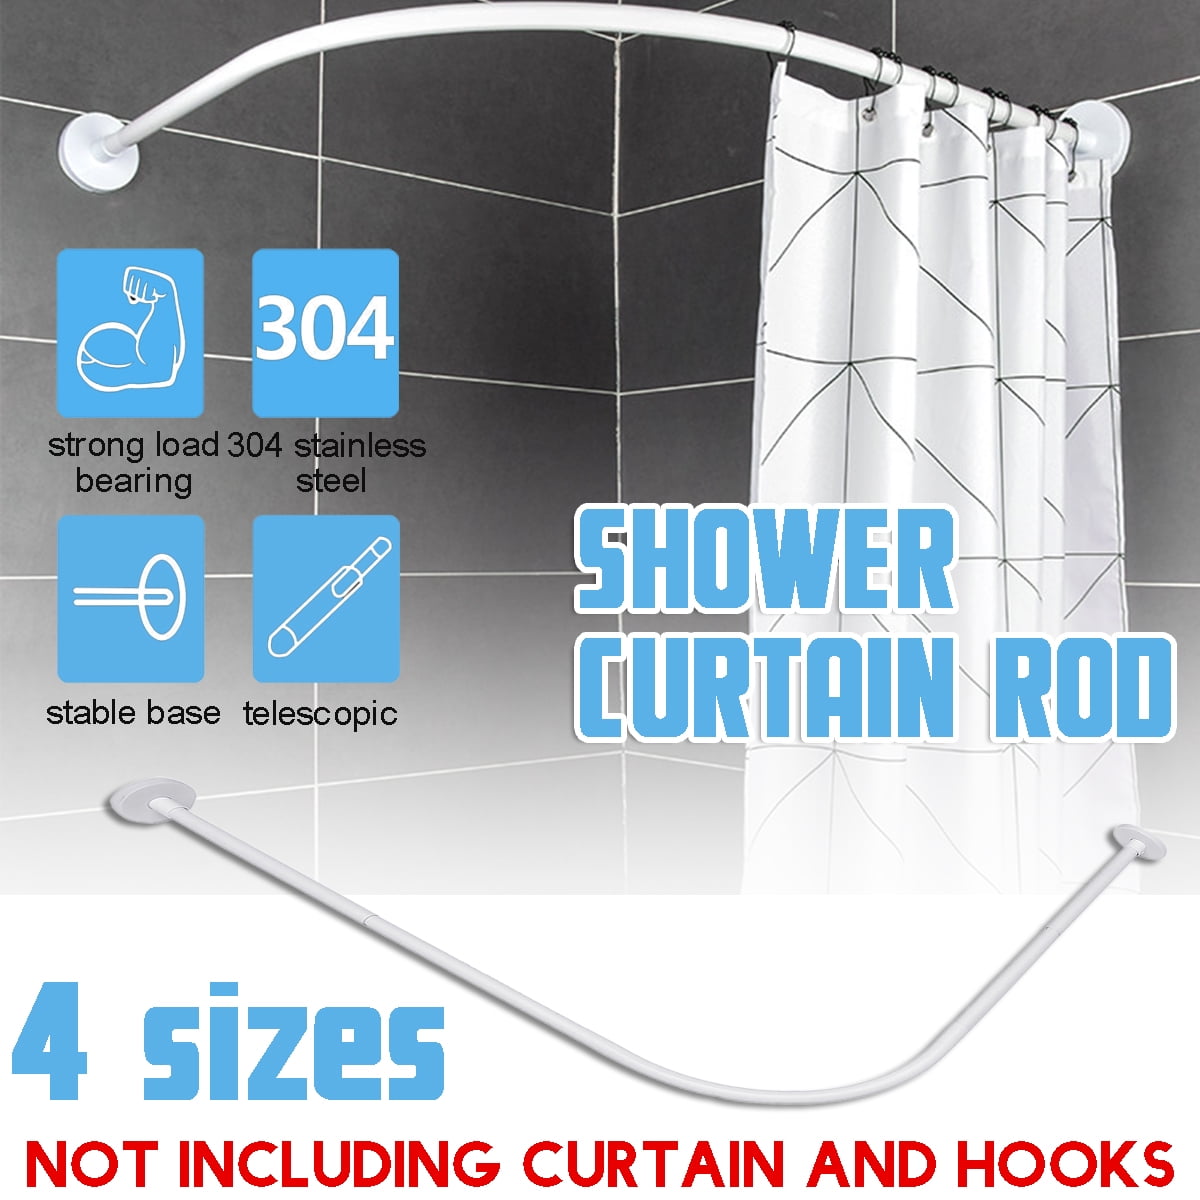
Curved Shower Rods
Using the bracket of your new curved shower rod as a template, hold the bracket up to the wall in the desired position. Where possible, align the new bracket with one or more of the existing holes for the old bracket, so you can reuse them. Use a pencil to mark the location of the new screw holes on the wall. Make sure the brackets are at the same height on both walls. If you’re installing a rod over a tub with a straight edge, position it in such a way that the curve extends equally into and out of the shower or tub space. For instance, if the arc of your shower rod extends six inches out from where it otherwise would be , place the ends three inches inside the tub.
That way, the shower rod and curtain will perfectly straddle the line marking the edge of the tub. Once the plastic wall anchors are in place, fasten the mounting brackets for the new curved shower rod, using the screws provided with your shower rod kit. Some pressure-fit shower curtain rods do not have permanently attached wall brackets. These can be removed by twisting the telescoping rod until it loosens enough to remove it from between the walls of the tub or shower alcove. Drill the mounting holes with a mini hole saw meant for tile. Line the flange up to the position where you want it, then drill through the holes around its perimeter.
Install the Shower Curtain and Liner
The method may vary by manufacturer; it may use spring-loaded clips that fit into holes in the bracket, or screws that secure the rod to the bracket. Drill an appropriate-sized pilot hole at each mounting screw location. If you are mounting the brackets to ceramic tile, use a special ceramic tile bit to drill the holes for the plastic anchors. Position the shower rod high enough that you won't bump your head. If you position the rod too low, you’ll be ducking every time you get in and out of the shower. If you live with other people, install the the curved shower rod at a height that allows the tallest person living in the house to get in and out of the shower without bumping their head.
The curved shower rods used inside clawfoot or pedestal tubs often use top-mounted brackets and drop rods to suspend the shower curtain rod from the ceiling. These brackets are installed much the same way as wall-mounted brackets—anchoring them directly to ceiling joists, where possible, or to plastic anchors or toggle bolts where necessary. Some curved shower rods don’t need flanges installed, and instead feature extendable “feet” that can be pressed directly against the walls of your shower or bathroom. This is called a tension rod and it is held in place by a spring that pushes the ends of the rod outwards. However, these rods do not stay up as well as shower rods that you mount on the wall. You can use felt pads between the end of the rod and the wall to help them stay put.
Trending Articles
If the brackets have been caulked, you may need to cut through the caulk bead with a utility knife to free them. Curved or crescent-shaped shower rods come in either adjustable or fixed-length models. Their installation is the same, except that with a fixed-length rod you have to get the rod ordered to size or cut to meet your specific needs. Our example shows the installation of an adjustable shower rod since they are more common for home use, easier to install, and less expensive. Extend the adjustable curved shower rod as needed until it is the correct length, then install the other end of the rod into the bracket on the opposite wall.
Follow the manufacturer's directions for the recommended size for wall anchors. Installing a curved shower rod can add a touch of elegance to your bathroom. The same type of curved shower rods found in hotels has become common in homes, and they can be purchased at any home center and many online retailers. Slide the flange covers over the ends of the shower rod. The way in which you fasten the rod to the flanges will vary depending on the manufacturer of the curved shower rod you’ve selected.
Select a rod that matches the rest of your bathroom fixtures. You’ll be more pleased with your curved shower rod if its color and material match those of your sink and/or cabinet handles. This will give the bathroom a great sense of unity and style. Remove the brackets from the walls by unscrewing the mounting screws.
For the best look and fit, select a shower curtain six to 12 inches wider then the width of the rod. It will make it possible for the shower rod to hold more weight and you will not need to use anchors. Move the flange away from the wall before tapping the anchors in place.
If your shower enclosure has acrylic siding, don’t drill through it. Instead, drill the mounting holes into the finished wall either above or just outside the shower enclosure. If your curved shower rod is not collapsible and does not fit perfectly across the length of your shower enclosure, you’ll need to cut it using a hacksaw. Measure the width of your shower enclosure, then subtract it from the length of your shower rod. Divide the difference in half and cut that length from your shower rod. They won't be required where the brackets can be screwed directly to wall studs.
If you’re installing a curved shower rod over a curved tub edge, position it in such a way that the curve of the rod aligns with the curve of the tub. Read the directions that come with your shower rod. Different shower rods have different sets of hardware and different installation strategies. To determine how to use your curved shower rod, consult the directions that come with it. Shower curtain brackets need to be firmly anchored, either into wall studs or with expandable plastic anchors embedded in drywall or tile.
Bob Formisano is a licensed architect and builder with nearly 40 years of experience building new homes and restoring older homes. One of his specialties is repairing old systems dating back to the 1920s, including galvanized water pipes, knob-and-tube wiring, and more. His home repair articles for The Spruce span more than 10 years. Consult manufacturer directions for more information about how to fasten the curved rod to the flanges. Once your drill is through the tile, you will need to place an anchor through the tile to prevent it from cracking. Drill slowly at first to avoid having your drill slip on the tile.
Line the holes of the flanges up with the plastic anchors you drove into the wall, then screw the flange in. You could use a power drill or a regular screwdriver to affix the flanges to the wall. If the new shower bracket left exposed some of the holes where the old bracket was attached, patch them over with spackle or drywall taping compound.
In some cases, the ends will just snap into the flanges, while in other cases you’ll need to screw the ends of the rod to a bevel attached to the flange. Place the shower rod at least 74 inches above the shower floor. The standard shower curtain is 72 inches long, and when it is linked to shower hooks, it usually gains another two inches . To prevent the curtain from dragging on the floor of the tub, hang the curved shower rod at a height of 74 inches or more.
Consult manufacturer directions for more information. Our trained team of editors and researchers validate articles for accuracy and comprehensiveness. WikiHow's Content Management Team carefully monitors the work from our editorial staff to ensure that each article is backed by trusted research and meets our high quality standards. Mark the spots where you want to install the flanges.


No comments:
Post a Comment